Intro to DP with DBM (by CHICKEN)
DP Beginner
This is a translation of an article by DJ CHICKEN, originally written in Korean.
Table of contents
Finger placement
Something you must learn when starting out DP is your finger placement. If you have this nailed down in the beginning, it will be immensely helpful.
Using the following 2P-side keys as reference,

the basic position is hitting 12467 and 13457 with thumb-index-middle-ring-pinky.
This is an absolute necessity for DP; if you play DP without learning this, you will hit a giant wall. It’s important that you make this a habit early on to avoid problems down the road.
- Important note: the reason why your fingers miss the keys is because your index and ring finger must move closer together when pressing 3 and 5. To correct this, pay special attention to 3 and 5 while playing to prevent missing the buttons.
To further elaborate on where you fingers should go (beyond the basics):
- Thumb: 1, 3, 5
- Index: 2, 3, (4)
- Middle: 4, (3), (5)
- Ring: 5, 6
- Pinky: 7, (5), (6)
- The buttons inside (brackets) are advanced techniques that you will naturally pick up later on, you don’t need to force yourself in the beginning.
DBM (Double Battle Mirror)
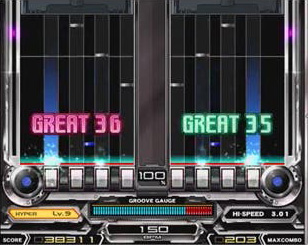
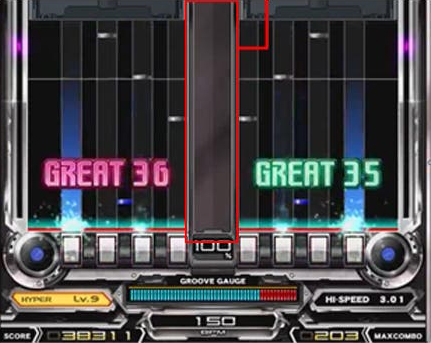
When starting out IIDX DP, instead of playing normal (easy) songs, you should try DBM (Double Battle Mirror) instead. In DBM, you get SP patterns on both sides. You can think of it as playing two copies of SP.
- You get notes in a symmetrical pattern, like in the image below:
Why is DBM recommended for new DP players?
- Since the patterns are identical on both hands, the movement of your fingers are symmetrical and balanced.
- It is an easy way to learn where buttons are located.
- It encourages an even skill increase on both of your hands.
How to set up DBM
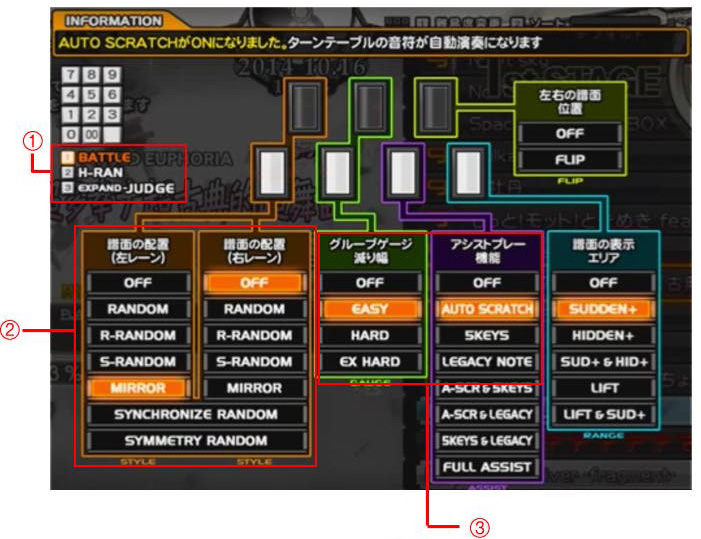
- First of all, in DP mode, turn on BATTLE mode by pressing 1 on the keypad (see ①)
- Turn on MIRROR on 1P or on 2P (see ②)
- Set gauge option to EASY or ASSIST-EASY, and remember to turn on AUTO SCRATCH (see ③)
(TL note 1: usually you want 1P side mirror so that the bass notes are on your left hand’s thumb)
(TL note 2: keep in mind that when BATTLE is on, your score and lamps do not save.)
(TL note 3: this guide was originally written in 2016. Since then, a new option to hide auto-scratch notes have been added in the blue menu, which is highly recommended.)
- In the arcade version, in 1st stage, if you play a level 5 (or under) you advance to 2nd stage even if you fail. You can take advantage of this when playing DBM.
DP players who start with DBM can be categorized into two groups; people who started IIDX as their first rhythm game, and people who are coming from other rhythm games. Depending on your skill level and how close the other games are to DP (e.g., pop’n music or 10+ key EZ2AC modes) you have an easy time getting adjusted to IIDX DP. This means that your early experience may be vastly different from other players, so try your best to learn the basic finger placement. Some users start out with levels 1-2 and step up to level 4 almost immediately; some users can take a few days.
In general, once you reach a level where you can clear Almace (SP level 4) in DBM, you can transition to a DP level 8 chart. Of course, it’ll take some additional time to get used to reading DP charts.
One additional thing I should mention is that the chart-reading skill required by DBM and DP are vastly different; you need to spend time learning both separately. It is not necessarily true that you can be good at DP just because you got used to DBM.
Field of vision and DP
When starting out DP, it is helpful to learn the basics of your field of vision and eye sight. I will list a few things you must keep in mind.
First of all, if you started with DBM first, you may have a hard time adjusting to DP. Why is that? It’s due to the fact that DBM patterns are symmetrical, which allows you to “cheat” by looking at just one side of the screen; but this isn’t possible for DP.
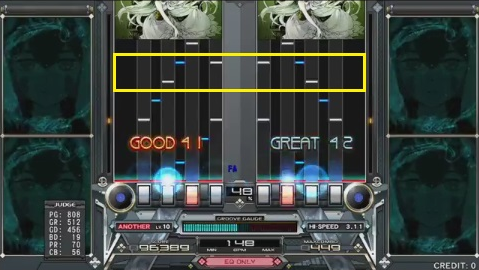
- Do not look at the separator (pillar) in the middle.
- Make sure your line of sight is not dropping lower during play.
- The primary goal is to reduce cases where your finger misses the button.
First of all, a common misconception is that you are supposed to look at the separator in the middle. The reasoning is that you’re trying to see both sides evenly, but you should not do this because your field of vision will be too narrow if you focus on looking at the seperator.
Then what should you so instead? Try to have a wide field of view that covers the entire width of the play field! It’s not good to be too close to the screen, and so is standing too far away. Try to keep a reasonable distance from the screen.
(TL note: see if you can have the yellow zone within your view. One way to think about it would be to consider this a 14-key pop’n music.)
Another important thing is to stop yourself from letting your line of sight drop too low. When you miss notes, or if you get a high density chart, you may catch yourself looking lower and lower; this is a very bad habit! Once you realize you are doing this, reset your eye sight to upper area of the screen.
Finally, the end goal is to develop the ability to hit notes as you read them. This may be an obvious thing to call out and applies to other rhythm games of this style, but your goal should be to have your fingers not miss the buttons in the first place.